How To Germinate Camellia Seeds – Germinating camellia seeds can be a rewarding gardening experience, providing you with beautiful blooms for years to come. Camellias are evergreen shrubs or small trees known for their exquisite flowers and glossy foliage. With the right techniques and patience, you can successfully germinate these seeds at home. This guide will walk you through the process step-by-step, ensuring you are well-equipped to grow your own camellias. 🌱
Understanding Camellia Seeds: How To Germinate Camellia Seeds
Before diving into the germination process, it’s crucial to understand camellia seeds. Camellia seeds are relatively large, dark brown, and hard, which can make them a bit challenging to germinate. They come from various species of camellia, including the popular Camellia japonica and Camellia sasanqua. The germination process can take several months, but with proper care, you will see successful results.
Collecting Camellia Seeds
To start your journey, you need to collect camellia seeds. Seeds are usually ready for harvesting in late fall to early winter when the seed pods turn brown and dry. Here are some tips for collecting seeds:
- Look for fully developed seed pods on your camellia plant.
- Gently twist or cut the pods from the branch to avoid damaging the plant.
- Place the seeds in a container and store them in a cool, dry place until you are ready to germinate them.
Preparing Camellia Seeds for Germination
Once you have collected your camellia seeds, it’s essential to prepare them for germination. The hard outer shell of the seed needs to be softened to facilitate sprouting. You can do this through a process called scarification.
| Scarification Method | Description |
|---|---|
| Mechanical Scarification | Using sandpaper or a knife to gently scratch the surface of the seed coat. |
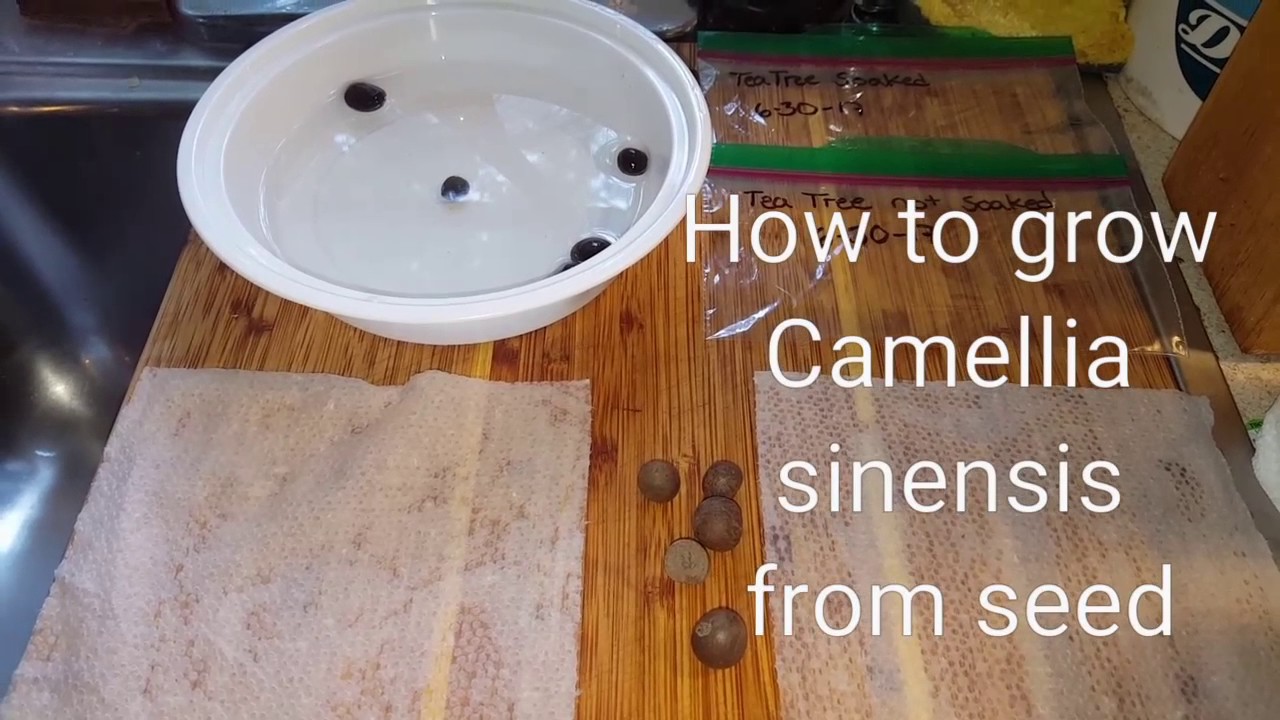
| Soaking in Water | Soak the seeds in warm water for 24-48 hours to help soften the outer coat. |
Important Note: Be careful not to damage the inner seed while scarifying. A light touch is all that is needed!
Choosing the Right Growing Medium

Choosing the right medium is crucial for successful germination. Camellias prefer slightly acidic, well-draining soil. You can create an ideal mix by combining:
- 1 part peat moss
- 1 part perlite or vermiculite
- 1 part pine bark or coir
This mixture will provide the necessary aeration and drainage, promoting healthy root development. 🌼
Germination Process, How To Germinate Camellia Seeds

Now that you have prepared your seeds and the growing medium, it’s time to begin the germination process.
- Fill your pots or seed trays: Fill with your prepared soil mix, leaving about 1 inch of space at the top.
- Sow the seeds: Plant the seeds about 1 inch deep in the soil, ensuring they are spaced adequately to allow for growth.
- Water gently: Use a spray bottle to moisten the soil without displacing the seeds. Maintain moisture without soaking the soil.
- Create a humidity dome: Cover the pots or trays with plastic wrap or a clear lid to retain moisture.
Pro Tip: Place the pots in a warm location with indirect sunlight. A temperature range of 70°F to 75°F (21°C to 24°C) is ideal for germination.
Monitoring Germination
Keep a close eye on your seeds over the next few weeks. Germination can take anywhere from 4 weeks to 6 months. During this time, it’s essential to:
- Check the soil moisture regularly.
- Remove the humidity cover once you see the seedlings emerge.
- Ensure that the seedlings receive sufficient light, transitioning to a brighter location as they grow.
Transplanting Seedlings
Once your seedlings have developed their first true leaves and are at least a few inches tall, it’s time to transplant them. Follow these steps for successful transplanting:
- Choose the right time: Transplant in early spring or fall when temperatures are mild.
- Select the right location: Choose a spot that receives partial shade, as camellias do not thrive in full sun.
- Prepare the planting hole: Dig a hole that is slightly larger than the root ball of your seedling.
- Carefully remove the seedling: Use a garden trowel to dig around the seedling, taking care to keep the roots intact.
- Place the seedling in the hole: Fill in with soil and water well.
Ongoing Care for Camellia Plants
To ensure healthy growth after transplanting, ongoing care is vital. Here are some essential care tips:
- Watering: Keep the soil consistently moist but not waterlogged.
- Fertilizing: Fertilize with a balanced, slow-release fertilizer during the growing season.
- Pruning: Prune camellias after flowering to maintain shape and promote growth.
With the right care, your camellias will thrive and bloom beautifully, adding charm to your garden. 🌸
