How To Transplant Begonias – Transplanting begonias can be a rewarding gardening task, enabling these beautiful plants to thrive in new conditions. Known for their stunning foliage and vibrant flowers, begonias are a popular choice among both novice and experienced gardeners. However, understanding the right techniques for transplanting is crucial to ensure their health and longevity. In this guide, we’ll delve into the step-by-step process of transplanting begonias, along with helpful tips, best practices, and common mistakes to avoid.
Understanding Begonias 🌱
Before diving into the transplanting process, it’s essential to understand begonias better. These plants belong to the Begoniaceae family and come in a variety of species and hybrids. Their adaptability to different environments makes them suitable for both indoor and outdoor settings. Here are some key characteristics of begonias:
| Characteristic | Description |
|---|---|
| Foliage | Begonias feature attractive leaves that can be green, red, or even multicolored. |
| Flowers | They produce vibrant flowers, often in pink, white, or red shades. |
| Growth Habit | Some begonias grow upright, while others are trailing. |
| Light Requirements | Begonias prefer indirect sunlight or partial shade. |
| Water Needs | They require regular watering but dislike waterlogged conditions. |
When to Transplant Begonias
Timing plays a crucial role in the successful transplanting of begonias. Here are some signs that indicate it’s time to transplant your begonias:
- Root Bound: If you notice roots growing through the drainage holes or circling the pot, it’s time for a new home.
- Stunted Growth: A lack of new growth or smaller leaves can be a sign that the plant needs more space.
- Soil Degradation: If the potting mix seems depleted or compacted, it may not be providing adequate nutrients.
Generally, the best time to transplant begonias is in the spring, just as the growth cycle begins. This timing allows the plant to establish itself in its new environment before the heat of summer.
Preparation for Transplanting 🌼

Proper preparation is key to a successful transplant. Here’s what you need to do:
Gather Your Materials
- New Pot: Ensure it’s at least 1-2 inches larger in diameter than the current pot.
- Potting Mix: Use a high-quality, well-draining potting mix.
- Watering Can: To keep the plant hydrated post-transplant.
- Gardening Gloves: To protect your hands while handling the plants.
Choose the Right Location
Select a spot that receives indirect sunlight for the best results. Avoid placing your begonias in direct sunlight as it can scorch their leaves.
Step-by-Step Guide to Transplanting Begonias
Now that you’re prepared, follow these steps to successfully transplant your begonias:
Step 1: Water the Plant
Water your begonia a day or two before the transplant to ensure the soil is moist but not soggy. This makes it easier to remove the plant from its current pot.
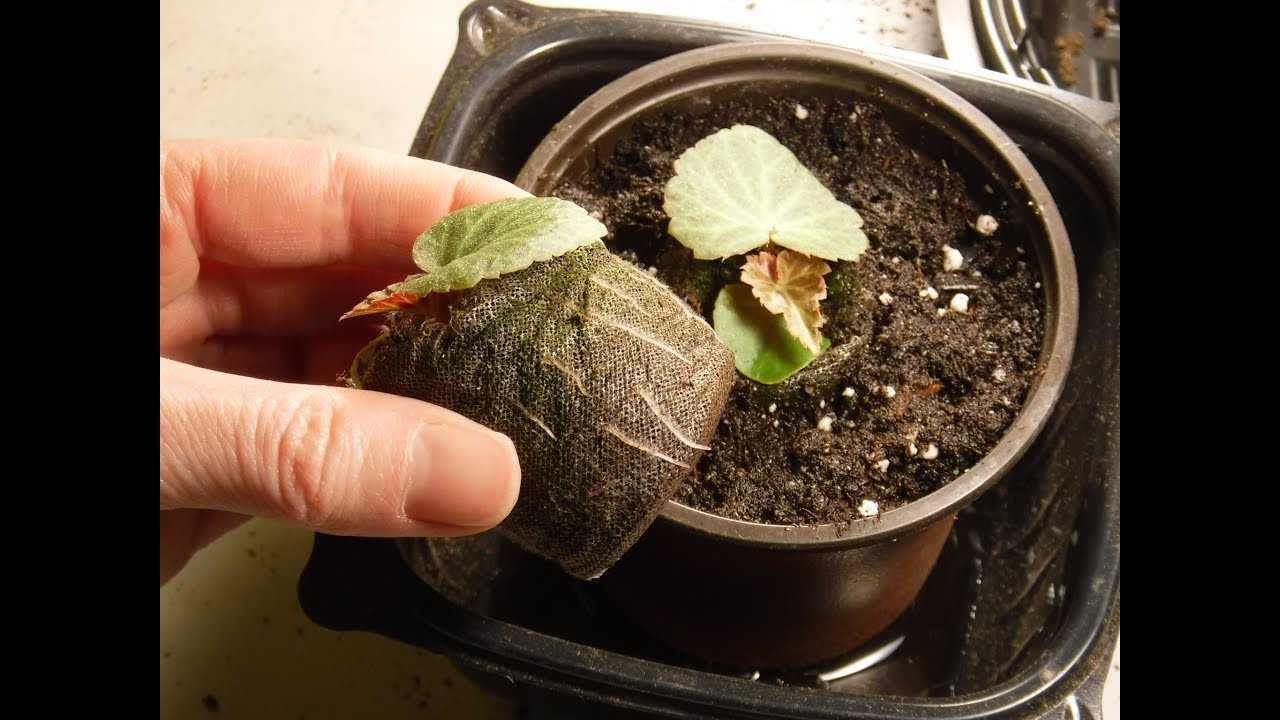
Step 2: Remove the Plant, How To Transplant Begonias
Gently hold the plant by its base and tilt the pot to remove it. If the plant is stubborn, tap the sides of the pot to loosen the soil. Avoid pulling on the leaves, as this can damage the plant.
Step 3: Inspect the Roots
Once removed, inspect the root system. Healthy roots should be white and firm. Trim away any brown or mushy roots with clean scissors to prevent disease.
Step 4: Prepare the New Pot

Add a layer of fresh potting mix to the bottom of the new pot. This should provide a good foundation for your begonia.
Step 5: Position the Plant
Place the begonia in the center of the new pot and fill in around the sides with potting mix. Ensure the top of the root ball is level with the rim of the pot.
Step 6: Water Thoroughly
After filling the pot, water the plant thoroughly to help settle the soil. Ensure excess water drains out of the bottom to avoid waterlogging.
Step 7: Provide Care Post-Transplant 🌿
After transplanting, it’s essential to care for your begonia properly:
- Keep it in a shaded area for a week to help it acclimate.
- Resume regular watering once the soil begins to dry out.
- Avoid fertilizing for at least a month to reduce stress on the plant.
Important Note: Always make sure that your new pot has adequate drainage holes to prevent root rot. Begonias are sensitive to overwatering!
Common Mistakes to Avoid: How To Transplant Begonias
Even experienced gardeners can make mistakes when transplanting begonias. Here are some common errors to steer clear of:
- Transplanting Too Often: Avoid frequent moves; this can stress the plant.
- Neglecting Root Care: Ignoring damaged or rotted roots can lead to long-term issues.
- Choosing the Wrong Size Pot: A pot that is too big can lead to water retention, while one that is too small may hinder growth.
Final Thoughts
Transplanting begonias is a straightforward process if you follow these guidelines. By paying attention to your plant’s needs and conditions, you can ensure that your begonias thrive in their new home. With time and care, you will enjoy the beauty and vibrancy that begonias bring to your space. Happy gardening! 🌺
