Start Hibiscus From Seed – Hibiscus is a stunning flowering plant that adds a splash of color and beauty to any garden or landscape. Starting hibiscus from seed can be an incredibly rewarding endeavor, allowing you to cultivate these eye-catching blooms right from the ground up. In this comprehensive guide, we’ll explore the process of growing hibiscus from seed, including tips on germination, planting, care, and troubleshooting common issues. 🌺
Understanding Hibiscus Varieties: Start Hibiscus From Seed
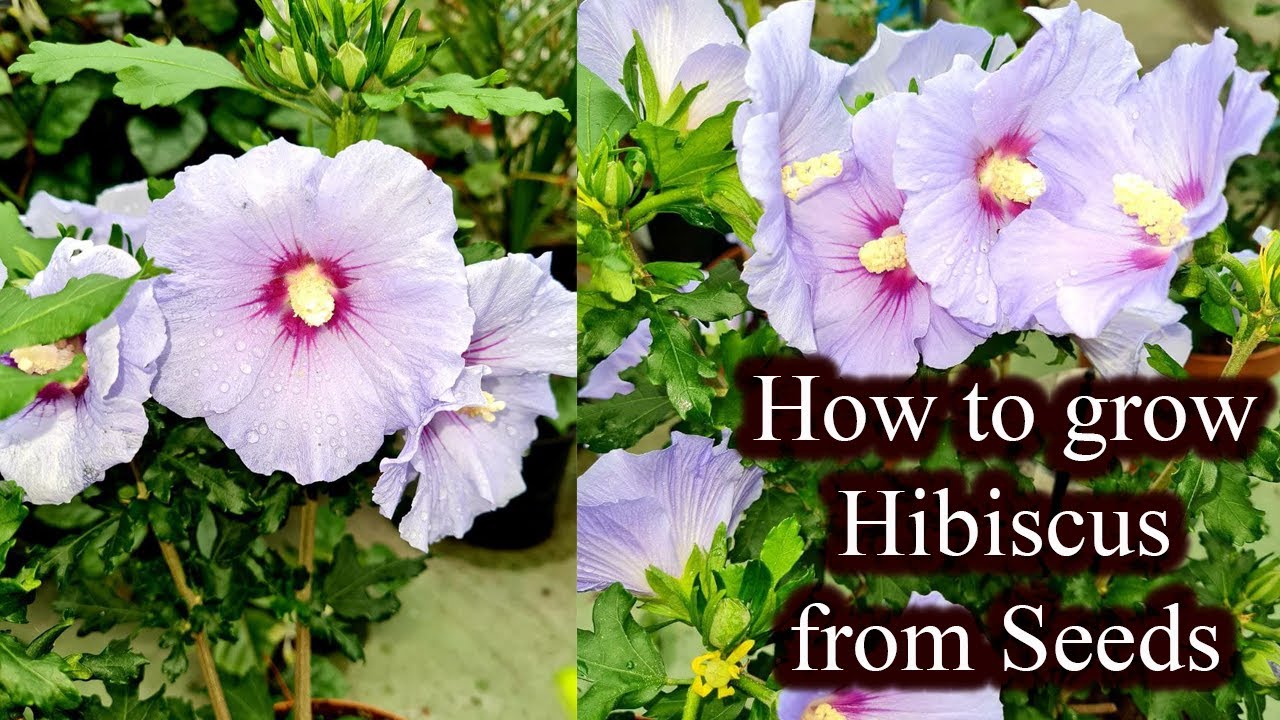
Before you begin the process of growing hibiscus from seed, it’s essential to understand the different varieties available. The two primary types of hibiscus are:
- Hibiscus rosa-sinensis – Commonly known as the Chinese hibiscus, this variety is known for its large, vibrant blooms and is a favorite in tropical and subtropical regions.
- Hibiscus moscheutos – Also known as the hardy hibiscus, this variety is more tolerant of cold temperatures and can thrive in temperate climates.
Gathering Your Supplies

To start hibiscus from seed, you’ll need the following supplies:
- Hibiscus seeds
- Seed-starting mix or potting soil
- Seed trays or pots
- Plastic wrap or a humidity dome
- Watering can or spray bottle
- Grow lights (optional)
Preparing the Seeds for Germination
Hibiscus seeds have a hard outer shell, making them somewhat difficult to germinate. To improve your chances of success, follow these steps:
- Soak the Seeds: Place the hibiscus seeds in a bowl of warm water for 24 hours. This softens the seed coat and encourages germination.
- Scarify the Seeds: Gently nick or sand the seed coat to further aid in water absorption.
> Important Note: Always handle seeds with care to avoid damaging them during scarification.
Germinating Hibiscus Seeds
Once your seeds are prepped, it’s time to germinate them. Follow these steps:
- Fill the Seed Trays: Fill your seed trays or pots with a sterile seed-starting mix. Moisten the soil before planting the seeds.
- Plant the Seeds: Sow the seeds about ¼ inch deep, spacing them a few inches apart to prevent overcrowding.
- Cover and Maintain Humidity: Cover the trays with plastic wrap or a humidity dome to retain moisture. This mimics a greenhouse environment.
Creating the Ideal Environment
Hibiscus seeds require warmth and humidity to germinate effectively. Aim for a temperature of around 70-85°F (21-29°C). A heat mat can help maintain consistent warmth if your environment is cooler. 🌡️
Watering and Lighting Requirements

Watering is crucial during the germination phase. Keep the soil consistently moist but not soggy. Use a spray bottle to mist the soil if necessary. Once the seeds sprout, gradually remove the plastic covering to allow for air circulation.
After the seedlings emerge, they will need adequate light to grow strong and healthy:
- Natural Light: If you have a south-facing window, place your seedlings there to receive maximum sunlight.
- Grow Lights: If natural light is insufficient, consider using grow lights for at least 12-16 hours a day.
Transplanting Hibiscus Seedlings
Once the seedlings develop their first true leaves and are about 2-3 inches tall, it’s time to transplant them into larger pots:
- Select the Right Pots: Use pots that are at least 4-6 inches in diameter to give the roots ample space to grow.
- Prepare the Soil: Fill the new pots with a rich potting mix that drains well.
- Transplant Carefully: Gently remove the seedlings from their seed trays, trying not to damage the roots, and place them into the new pots.
Caring for Your Hibiscus Plants
Once transplanted, your hibiscus plants will require ongoing care:
Watering and Fertilizing
Water the plants regularly to keep the soil moist but avoid waterlogging. During the growing season, fertilize your hibiscus plants with a balanced, water-soluble fertilizer every 4-6 weeks.
Pest and Disease Management, Start Hibiscus From Seed
Keep an eye out for common pests like aphids and spider mites. Use insecticidal soap or neem oil to manage infestations. Additionally, ensure good air circulation to prevent fungal diseases.
When to Transplant Outdoors
Once the threat of frost has passed and your seedlings are at least 6 inches tall, you can transplant them outdoors. Choose a location with full sun to partial shade and well-draining soil.
Preparing the Outdoor Site
Before transplanting, prepare the site by:
- Testing the Soil: Ensure your soil has a pH between 6.0 and 7.5 for optimal growth.
- Amending the Soil: Add organic matter like compost to improve soil fertility and drainage.
Common Challenges in Growing Hibiscus from Seed
Starting hibiscus from seed can come with its challenges. Here are some common problems and how to troubleshoot them:
| Problem | Possible Cause | Solution ||——————————-|——————————|——————————–|| Seeds Not Germinating | Too cold or dry conditions | Ensure warmth and humidity || Yellowing Leaves | Overwatering or nutrient deficiency | Adjust watering and fertilize || Stunted Growth | Root-bound or poor soil | Transplant into larger pots with quality soil |> Important Note: Patience is key! Hibiscus seeds can take anywhere from 7 to 30 days to germinate depending on conditions.
Conclusion
Starting hibiscus from seed is a journey filled with the anticipation of vibrant blooms and the joys of gardening. By following the steps Artikeld in this guide, you can cultivate these magnificent plants and enjoy their beauty in your garden. With the right care and attention, your hibiscus will flourish, bringing a burst of color and a touch of paradise to your home. 🌼
